Hack The Box: Worker
What will you learn? Hack The Box’s retired medium rated machine Worker is a part of the cloud learning track. It gives us exposure to software development environments, where Azure DevOps pipeline abuse is apparent. Extracting source code from an SVN server enables attackers to move to a local Azure DevOps installation that can be abused to escalate privileges. This is a very interesting box but for the fact we get a lot of experience using Azure DevOps, exploiting natural functionality through authorized user privileges.
Let’s begin enumerating the open ports:
Fortunately for us, it is pretty narrow for what we need to enumerate- port 3690 (SVNSERVE) and 80 (HTTP)

I do not know anything about SVNServe, so I looked up that keyword with HackTricks: https://book.hacktricks.xyz/network-services-pentesting/3690-pentesting-subversion-svn-server
“Subversion is a centralized version control system that plays a crucial role in managing both the present and historical data of projects. Being an open source tool, it operates under the Apache license. This system is widely acknowledged for its capabilities in software versioning and revision control, ensuring that users can keep track of changes over time efficiently.” - HackTricks
Apparently there is a command line utility to interact with this service and we can use NC to banner grab as well. Doing so, I did not get anything standing out too much as important- but using the listing and logging functions with SVN the utility we get a lot more information.

This is a very GIT-like commit history situation. According to HackTricks we can use the checkout functionality and pull everything that is hosted down into a directory. This creates a dimension.worker.htb directory and a moved.txt file.

At this point I have not visited the website on port 80. I have fixated a bit on the SVN situation, and this reveals another domain we can add to our /etc/hosts file and explore. I would recommend viewing the directory for the dimension.worker.htb website using code . for Microsoft Visual Studio code on the working directory.

Visiting the website asks for user credentials.

Going back to the history of the commits and using the last command HackTricks mentions to go to REVISION XYZ, we can obtain a credential pairing.

Using these credentials works on the website and we have a session on this GIT-like website. A deployment script is what got us here in the first place, so I would imagine hard-coded credentials presently exist or did in the history of this application’s user submissions, time to search.

We can navigate to where ‘Files’ is and attempt to upload a web shell / reverse shell that is compatible with a Microsoft IIS webserver. First we will start by navigating to and following through on cloning the git repository on our Kali machine. This will bring down a folder called ‘spectral’.


If this was Apache or NGINX we would use a PHP shell, but since this is a Windows target running IIS we will copy down a ASPX webshell. Then we can create our own separate branch, checkout the branch, and push the branch to the Azure DevOps server using the credentials for Nathen.


We can see that this reflects on the target website.

We want to create a pull request to merge the changes we made with the master branch. This will redirect you to ‘Approve’ then ‘Complete’ and approve the final request review.

Make sure to add 10.10.10.203 spectral.worker.htb and you can navigate to http://spectral.worker.htb/cmdasp.aspx and reach the web shell.

We are able to find that an additional drive was added to the machine named :W

We can begin enumerating the contents of that drive and drill down to find a file named passwd which is interesting.


We can start building a username and password list to fire against the machine with crackmapexec or netexec to determine a valid login.

Now we can create a file and insert our text. Then chop it up by doing :%s/ /:/g and then save using :wq! using VI and we have a username:password format list.


Then we can chop it up more using awk and create a user list and password list. Now we’re ready to fire off netexec against WINRM (there is no SMB reported in the NMAP scans we took).

We can see we get a successful credential pairing for robisl:wolves11 and we can use evil-winrm against this host for an initial foothold.


There are no common privilige escalation paths you will notice after running: whoami /priv so we will return back to the Azure DevOps. We logged in as Nathen before so this time we can use our credentials and login as Robisl

We can look into the project settings > security > to see that Robisl is a member of the Build Administrators group in Azure DevOps. This is significant because Build Administrators have full control over pipelines in these projects. We can build definitions to execute arbitrary malicious commands.
We can see the context of the build definition being executed by navigating to Project > Settings > Agents Pools > Setup > Agents > Hamilton11 > Capabilities and notice a machien account of WORKER$ which is the hostname that tells us that these build definitions are running as the NT AUTHORITY \ SYSTEM user.

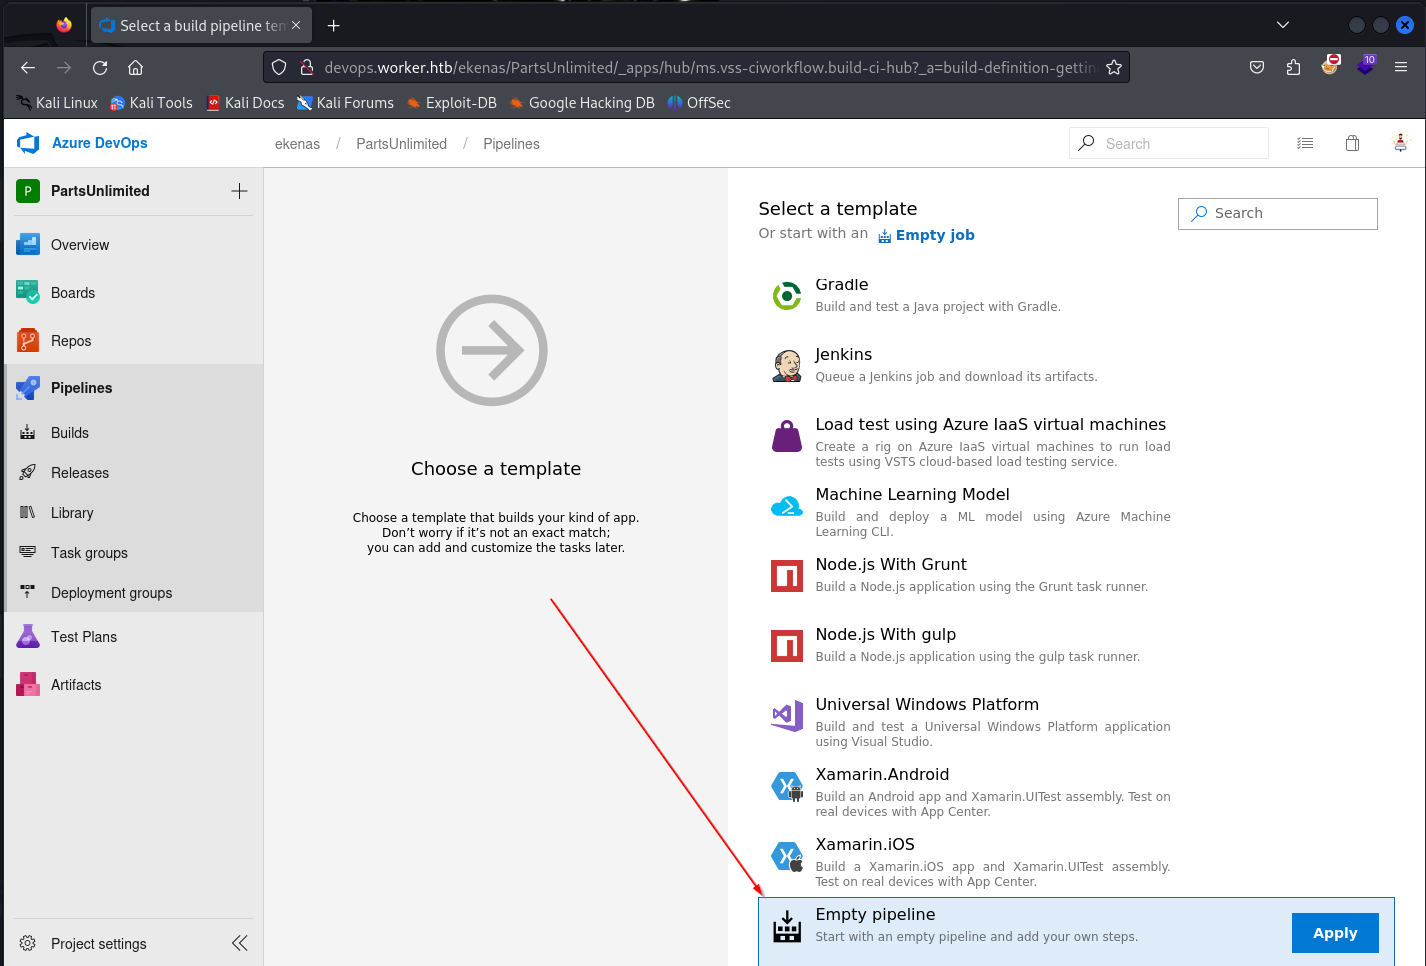
We can take advantage of this misconfiguration by navigating to Pipelines > New Pipeline > and choose the classic editor to avoid using YAML files. Then click continue.

We are going to choose an Empty Pipeline.
From the ‘Agent Pool’ dropdown choose SETUP.

We need to configure the agent to do something with PowerShell, being one of the options. We can create a PowerShell task by clicking the + button on the agent job item.

Click on the PowerShell script task and select ‘Inline’ then we can add text to create and add a local administrator user account, that we can use with EVIL-WINRM after to gain remote access to the machine. Then click on ‘Save and Queue`.

Now we connect to the box with our new user and we reveal we are a local administrator and root.txt is ours.
